Mendeley reference manager
| Õpikeskkond: | TalTech Moodle |
| Kursus: | Information Searching Skills |
| Raamat: | Mendeley reference manager |
| Printija: | Külaliskasutaja |
| Kuupäev: | pühapäev, 26. juuli 2026, 06.36 AM |
Kirjeldus
A guide on how to easily collect references, cite within the text and list the sources used.
Sisukord
- 1. Mendeley reference manager
- 2. Initial introduction to Mendeley software:
- 3. How to add reference entries in Mendeley reference manager software
- 4. Mendeley reference collection management
- 5. Adding tags to reference entries
- 6. Filtering/sorting of references
- 7. Deleting references from the reference collection
- 8. Creating collections (folders)
- 9. Creating private groups
- 10. Using the Notebook feature
- 11. How to use Mendeley reference management software in Microsoft Word
- 12. How to access your Mendeley reference collection via the web
- 13. YouTube tutorial video
1. Mendeley reference manager
Mendeley is the reference manager of Elsevier Publishing House. It works on Windows, Linux and Mac. This guide is designed for most Microsoft Windows and Microsoft Office configurations.
To use Mendeley, you need to install it on your computer by clicking on the red Download button. Download Mendeley to your computer using the blue Download button on the left. After installation, the Mendeley icon will appear on your desktop.
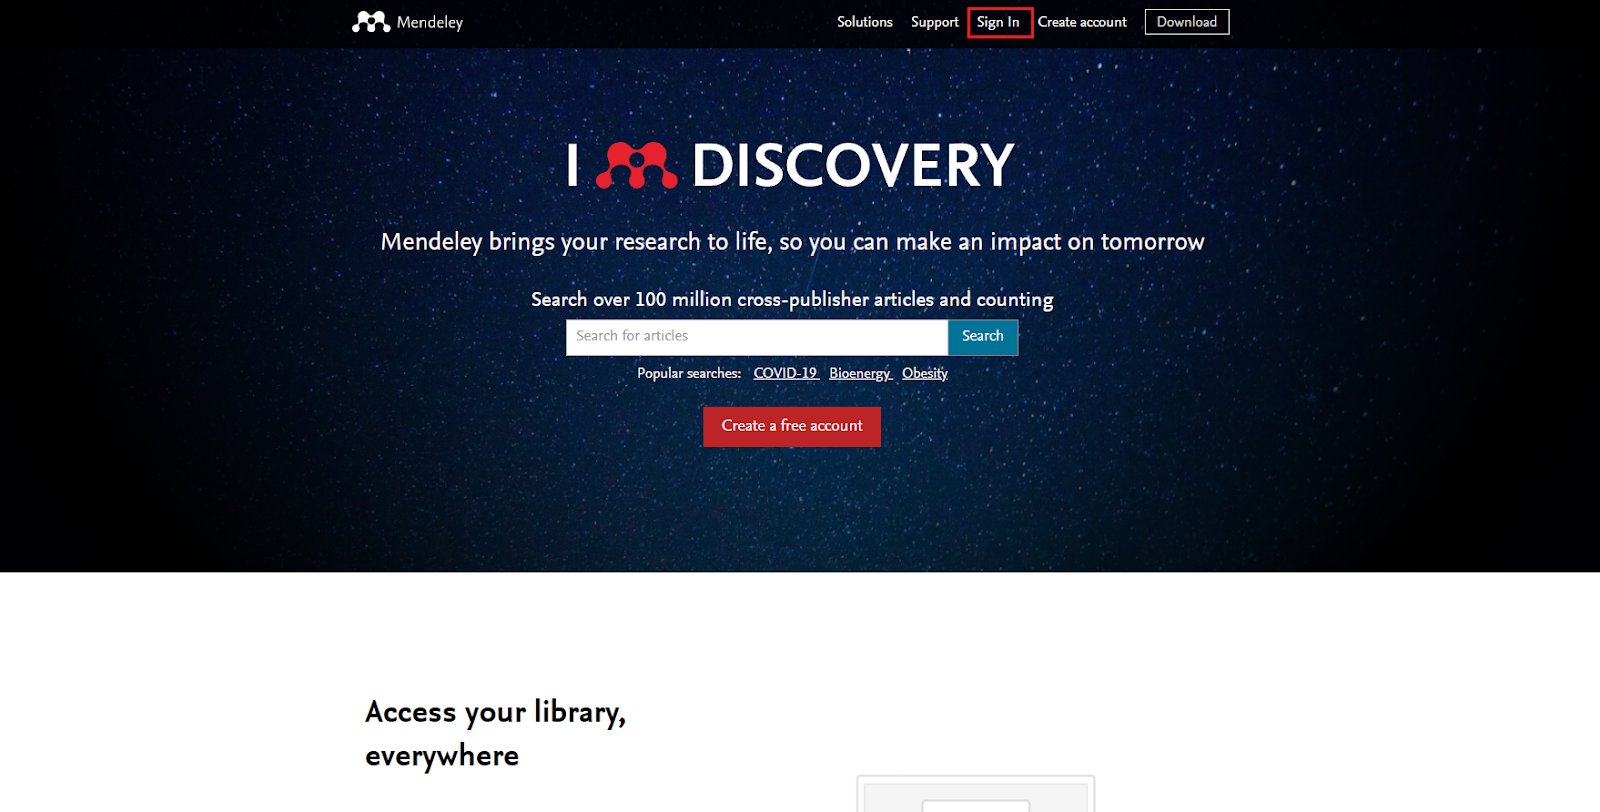
The next step is to make yourself an Elsevier account. To do so, go back to the Mendeley Reference Manager page and select Create account from the top panel. The same account will apply to Elsevier's ScienceDirect and Scopus databases so if the account is already made then you can use the same account.
Once the ELSEVIER account is created, install Mendeley Web Importer. You now have everything you need to start using the Mendeley reference management software.
2. Initial introduction to Mendeley software:
For first time use, you must log in using your Elsevier account.
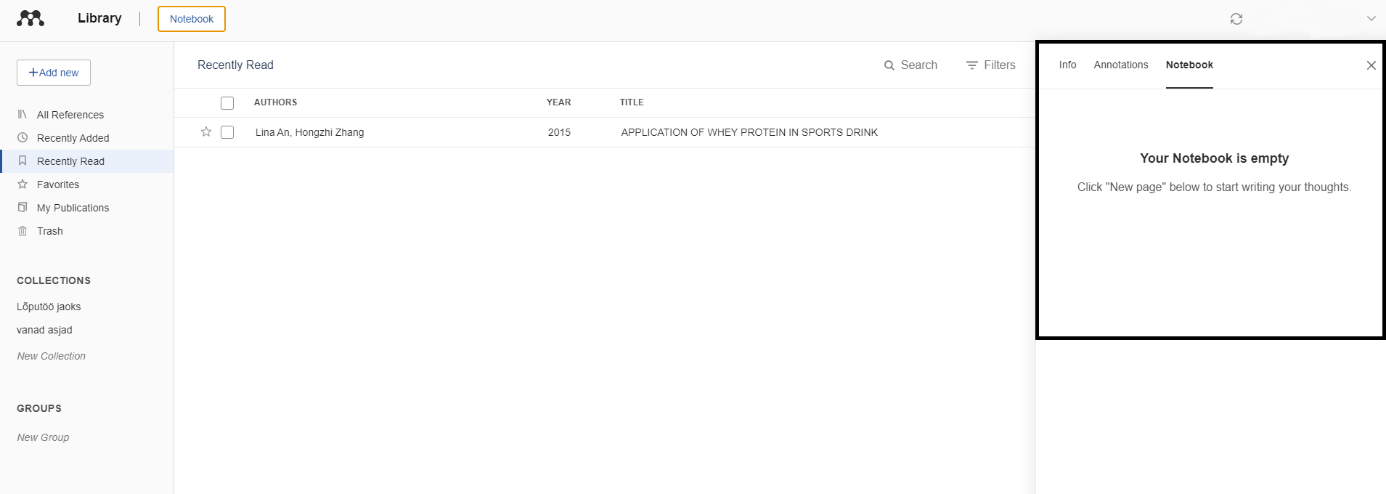
When you open the software, you will see a screen like this:
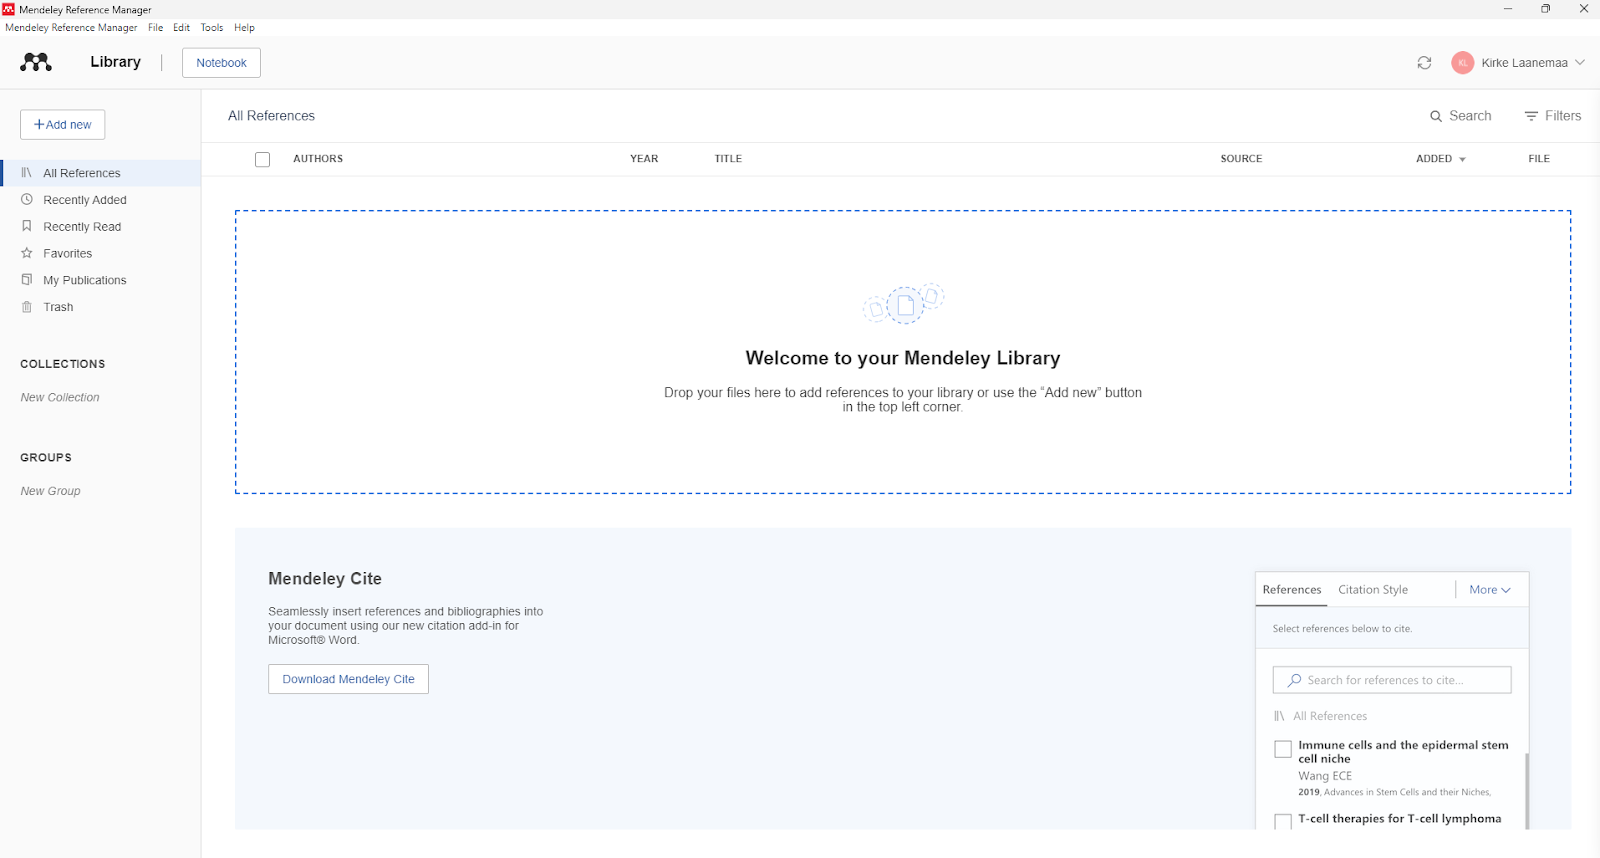
On the left sidebar is the Add new button.
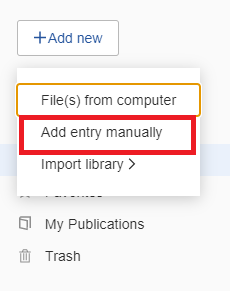
This allows you to add new reference entries to your Mendeley account. It is possible to add downloaded files directly from your own computer, to add entries manually or to import a complete reference collection from another program.
From the sidebar you can choose to view all reference entries, recently added or read entries, favourites and your own publications. There is also a sidebar with a trash where you can put the reference entries you want to delete from your own records.
At the bottom of the sidebar, there is a collections section where you can create folders with different names and then add different reference items to them.
Below the Collections section is a Groups section where you can share your own reference items with other group members.
On the main Mendeley panel, you can see all your own reference files and folders: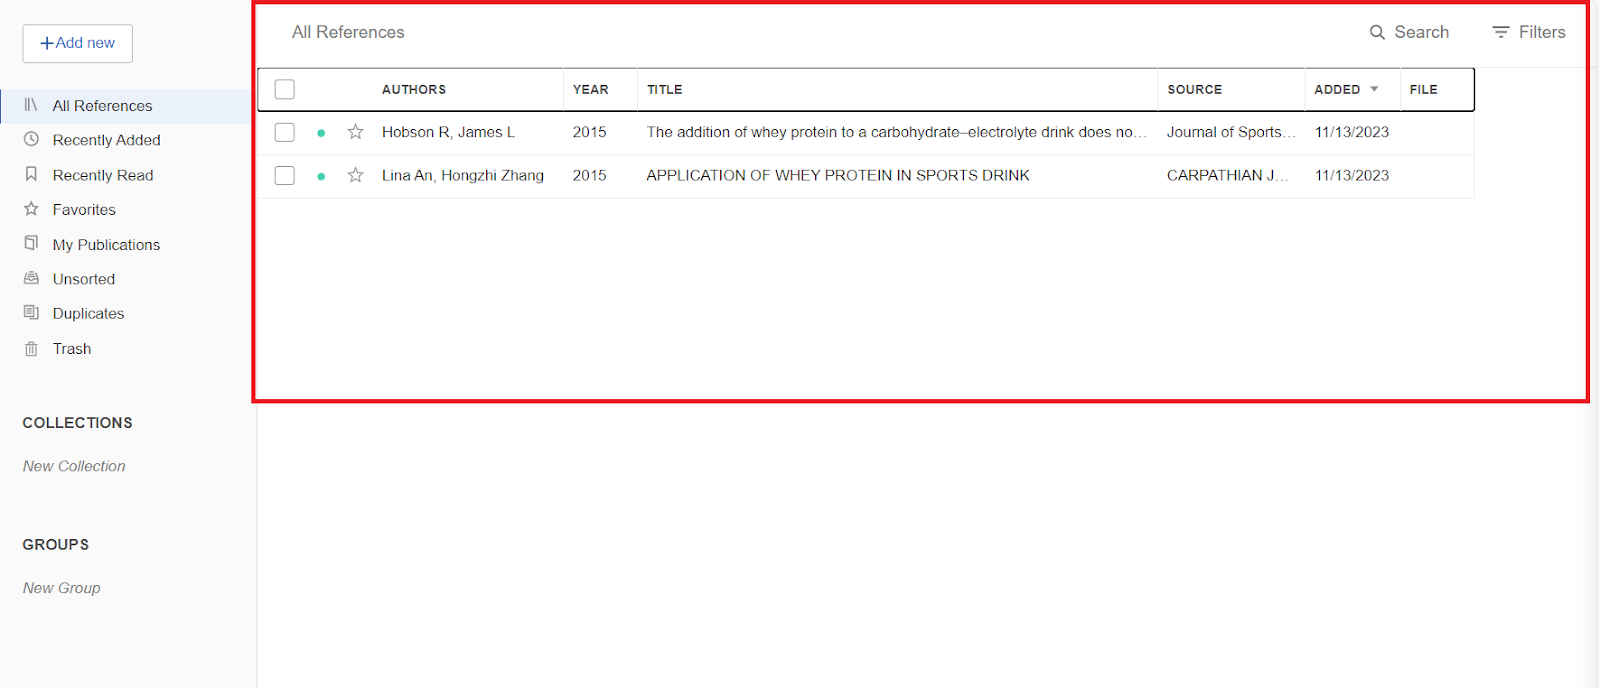
In the right-hand corner of the top panel, you'll see the search bar, where you can quickly find the reference you need. In addition to the search bar, there is also a filter option on the top panel, which allows you to sort reference entries by author and tags.
The last thing you should be aware of is the notebook, where you can add various comments.
3. How to add reference entries in Mendeley reference manager software
There are three ways to add reference entries. You can add downloaded files directly from your own computer, add entries manually, or import a complete reference collection from another program.
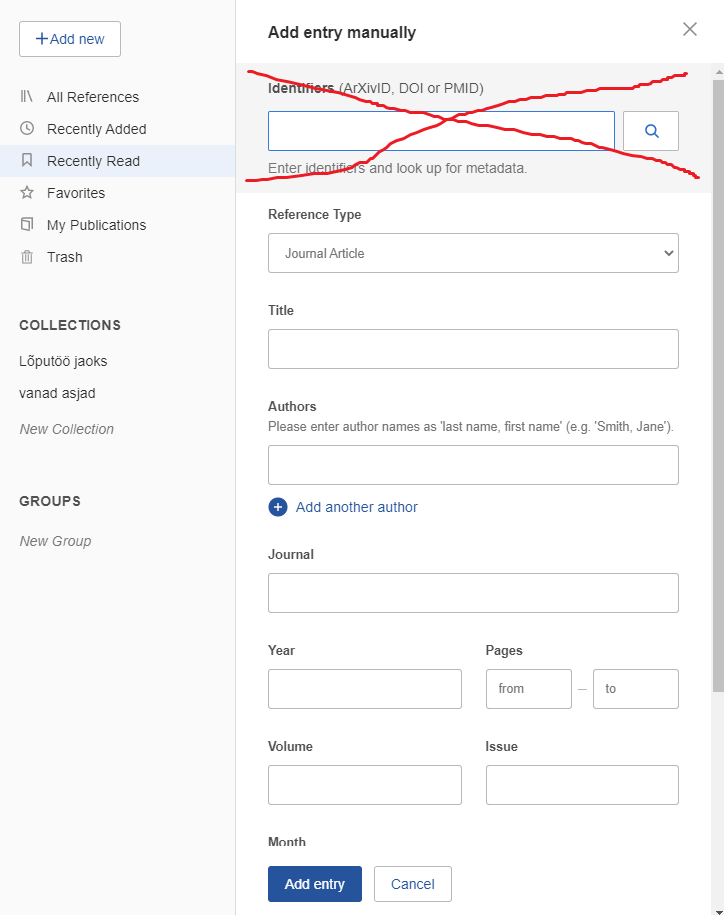
3.1. Add Manually
Click Add new and select Add entry manually. A new side menu will open, where you ignore the identifiers field and fill in all other fields with the required information. Once the fields are filled in, click Add entry in the bottom bar and your added reference entry will appear on the Mendeley main page.
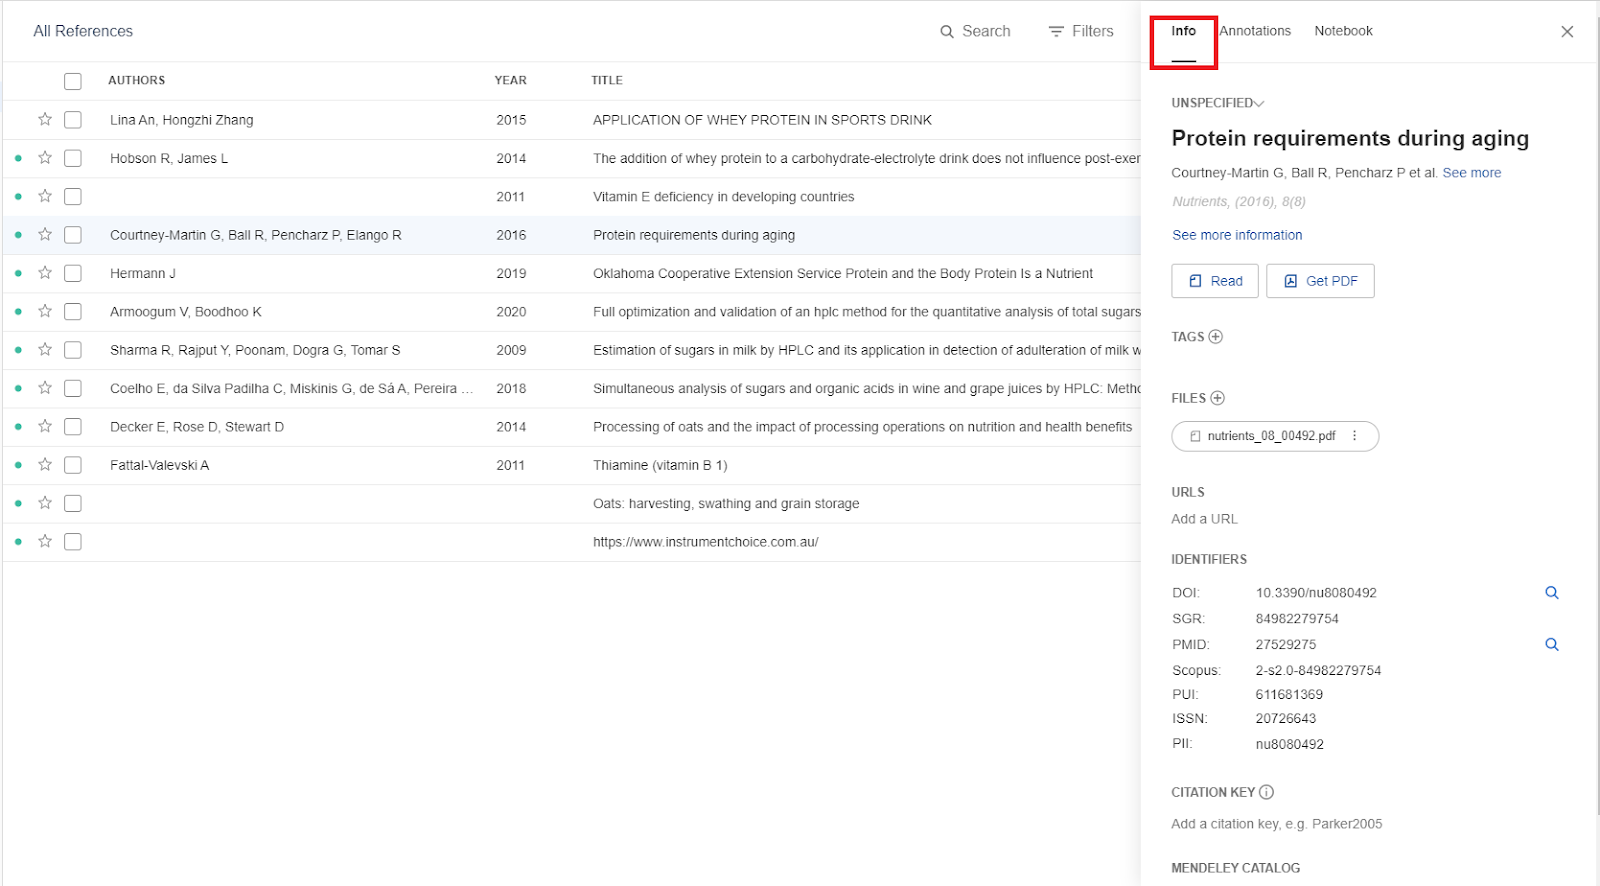
If you want to see more information about a reference, click on the reference you need and a new sidebar will open on the right. Select the info and you will see the reference information:
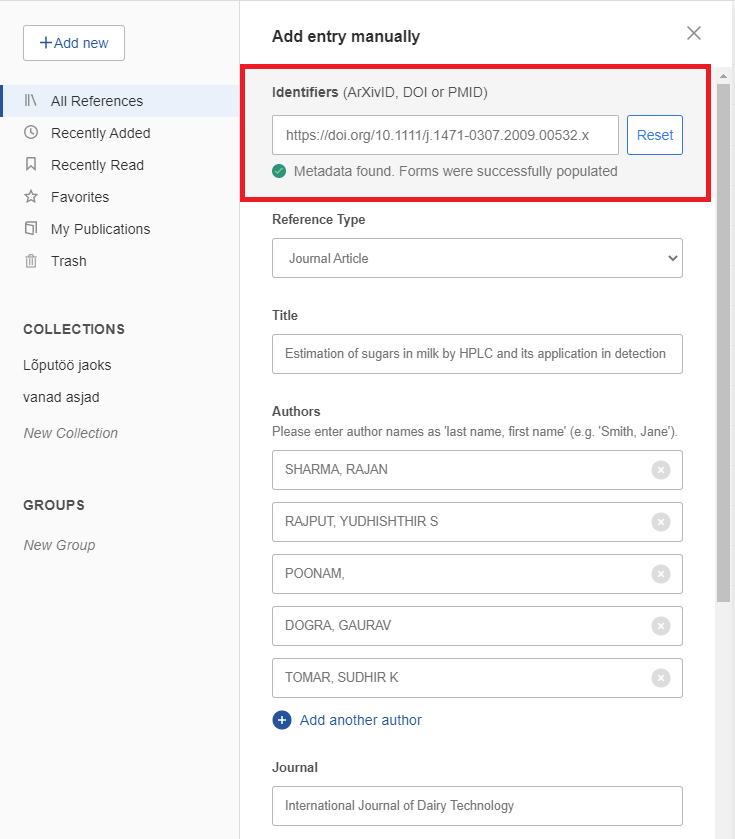
3.2. Using identifier
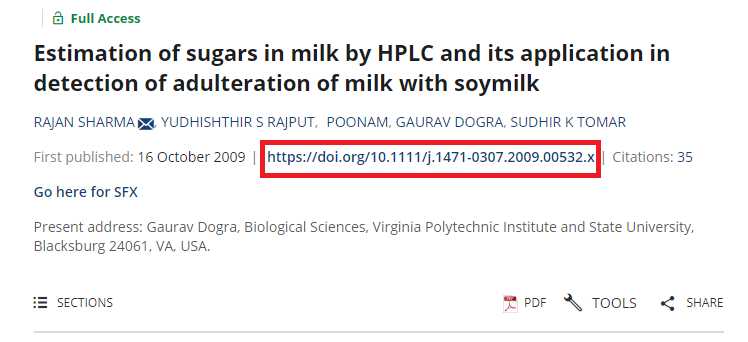
Mendeley's reference manager software is able to read different types of identifiers and extract the relevant information attached to it by reading it from the internet. For example, an article taken has a DOI identifier, which can be used to include the reference in the Mendeley software.
3.3. Using Mendeley web importer
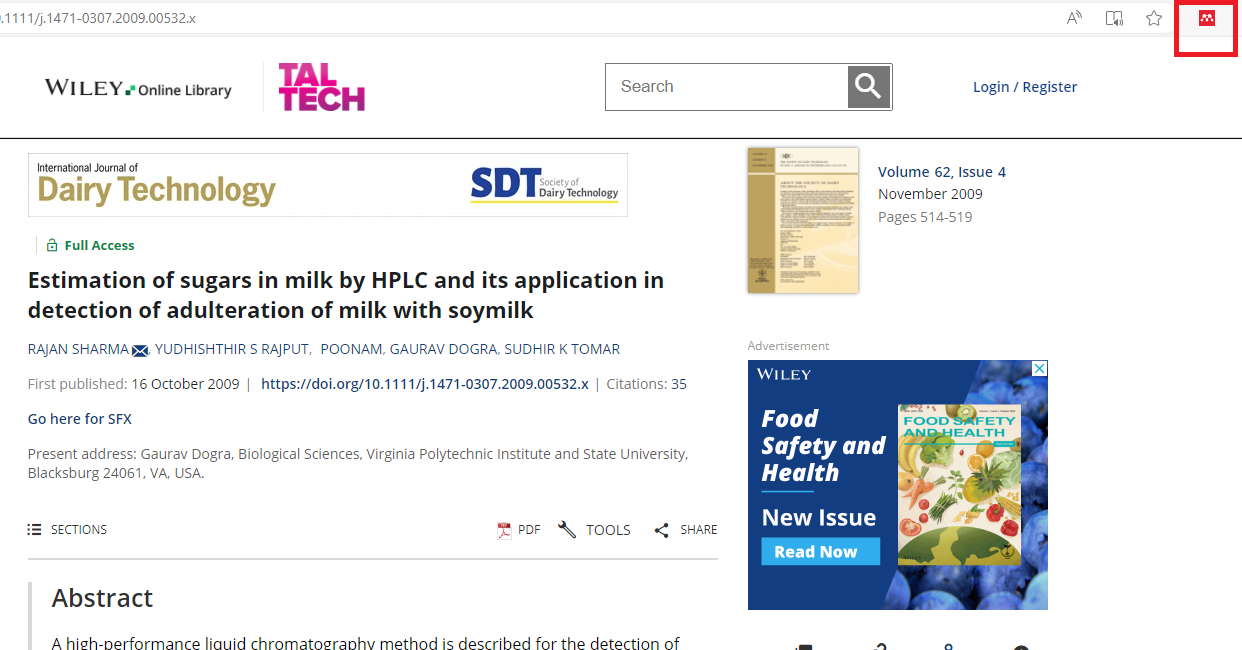
Once the Mendeley web importer is installed, you should see the Mendeley icon in your web browser:To use the web importer, go to the page containing the reference you want to import into your Mendeley software and click on the Mendeley icon:
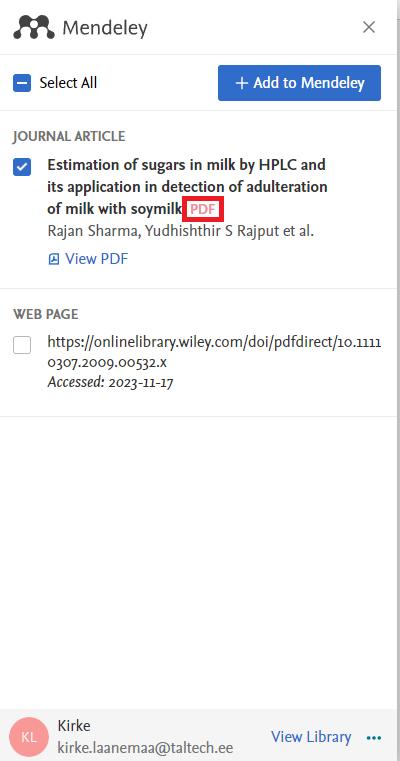
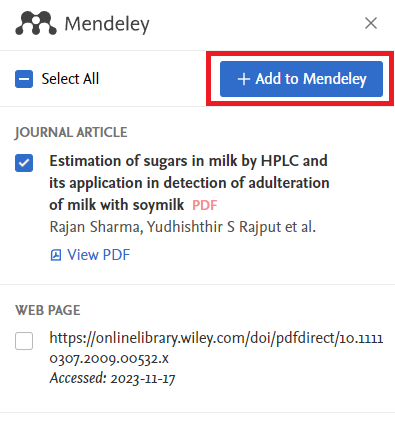
For first time use, you must log in using the ELSEVIER account you have previously created. Once logged in, you will see all the available reference books that you can download from this page to your Mendeley reference collection.
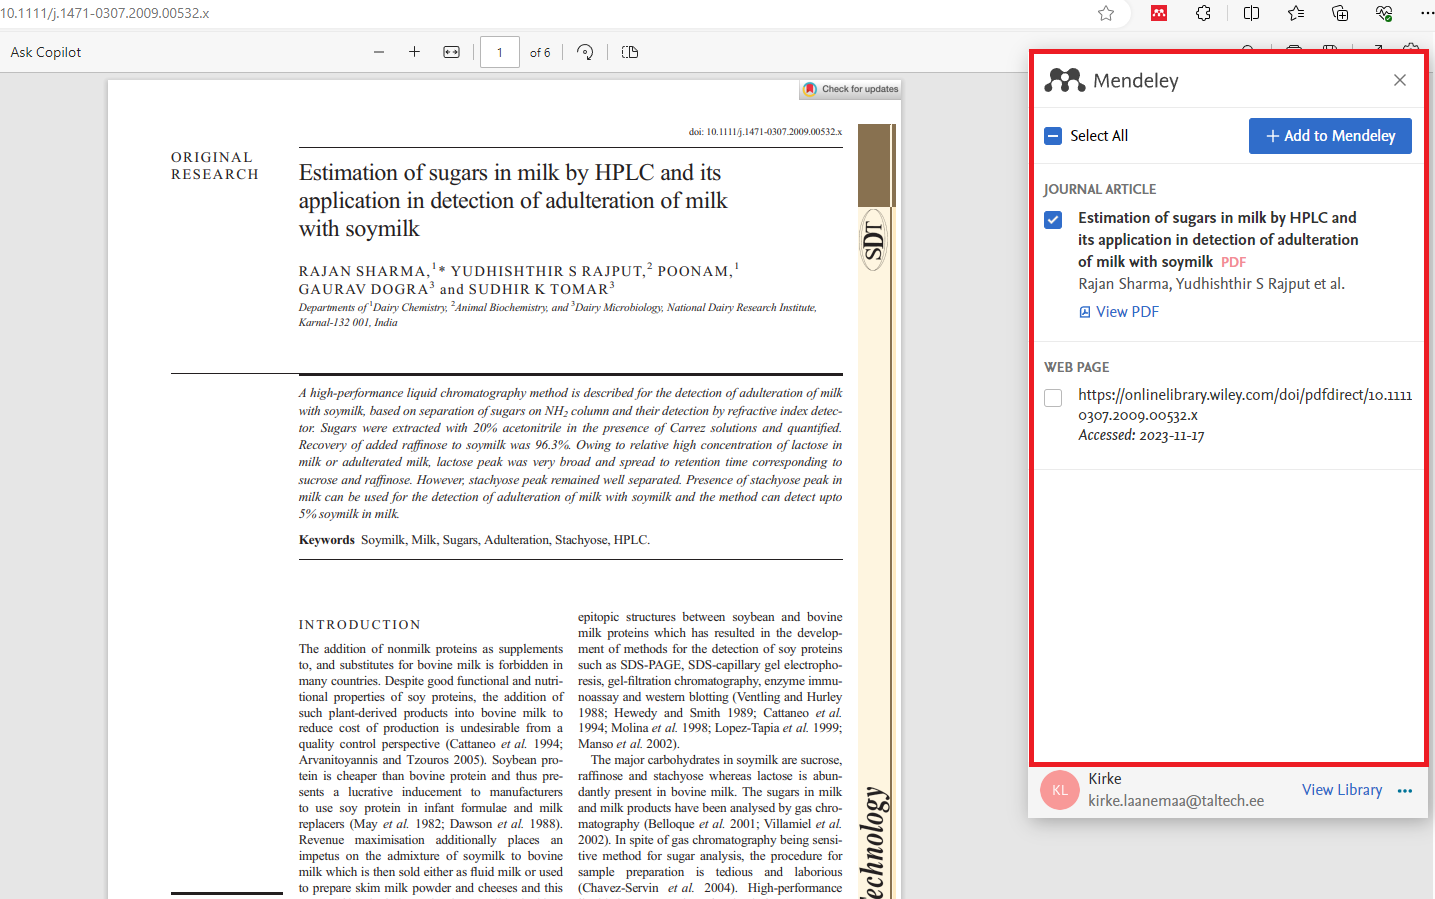
If there is a full-text PDF file available for your selected reference, the web importer will indicate this:
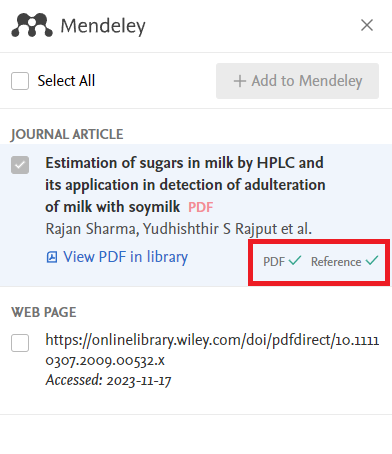
After the import, the web importer will notify you that the reference has been imported.
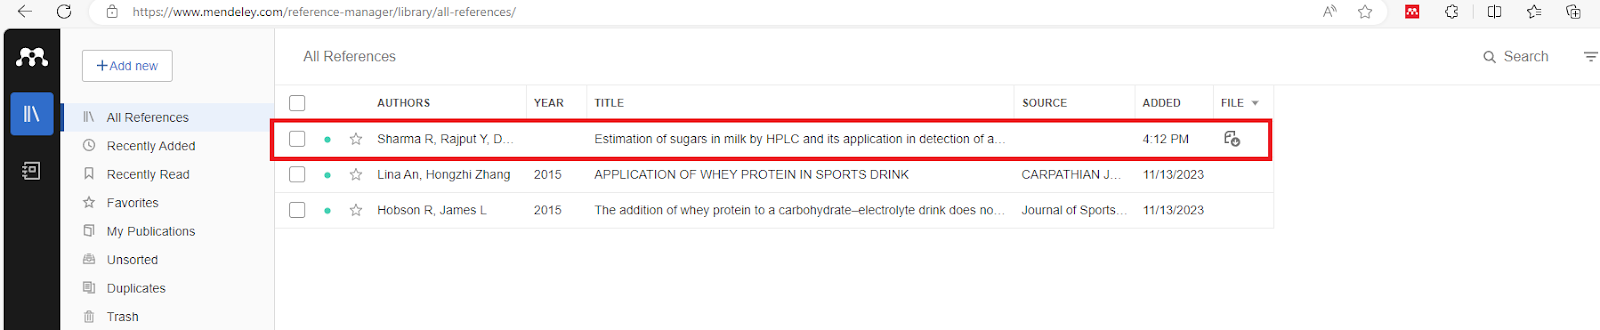
Now, if you go to your Mendeley reference management software, you will see that the reference has been included with a PDF file that you can open directly in Mendeley:
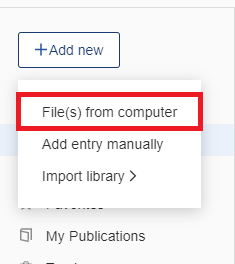
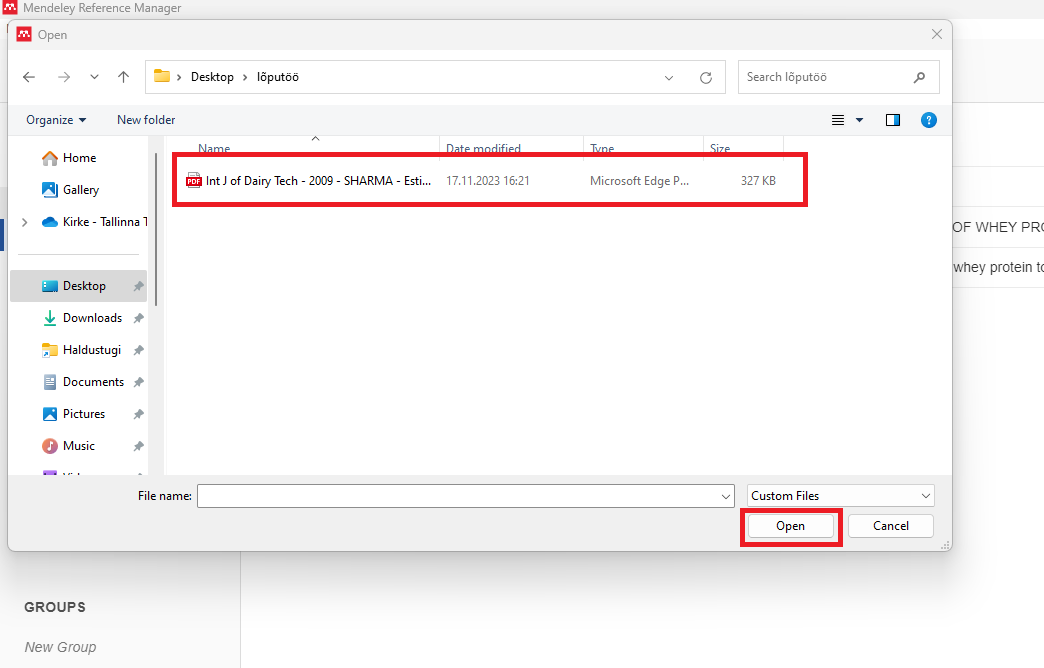
3.4. Upload PDF directly from your computer
Choose Add new -> File(s) from Computer.
4. Mendeley reference collection management
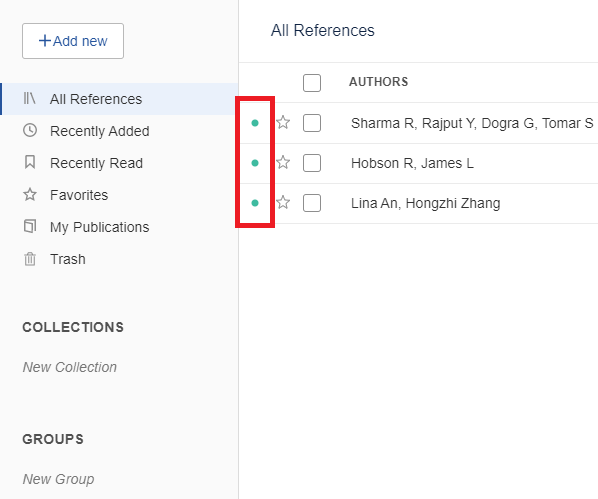
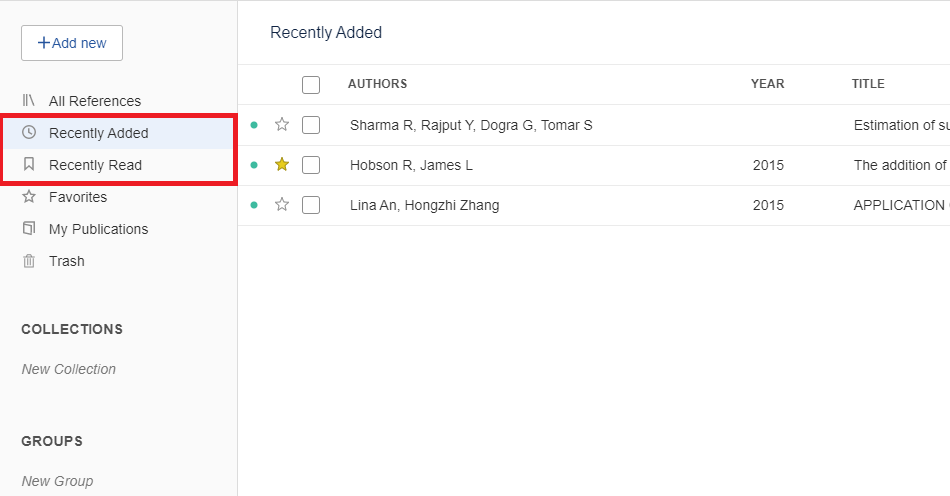
When references are added to a reference collection, there are often small green dots next to the reference entries, indicating that a particular reference entry has not been opened. When you open the PDF file in the reference, the green dot disappears. In addition, there are stars next to each reference, which you can click on to mark a particular reference as your favourite.
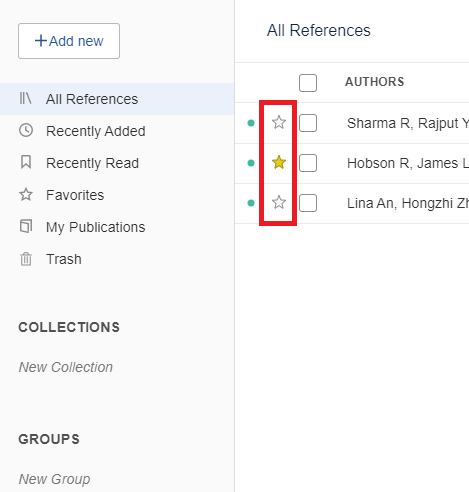
You can find all the bookmarks you have marked as favourites in the favorites tab on the left.
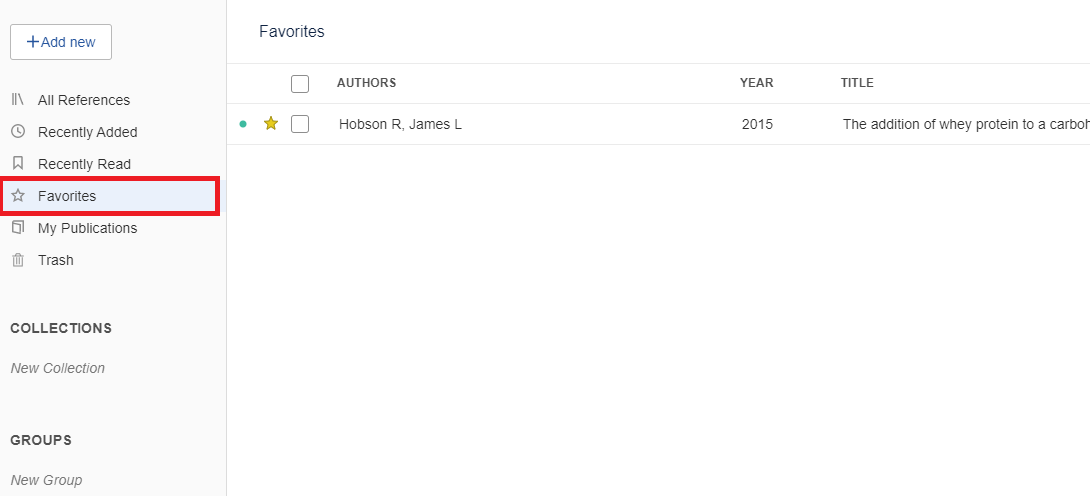
In the Recently added tab, you'll find the reference books you've added to your collection in the last 30 days and in the Recently read tab, you'll find the reference books you've read the PDF file of in the last 30 days.
5. Adding tags to reference entries
This is one way to organise your own reference books. To see the tags, click on the selected reference and in the tab that opens on the right, select info, scroll down a little and select tags.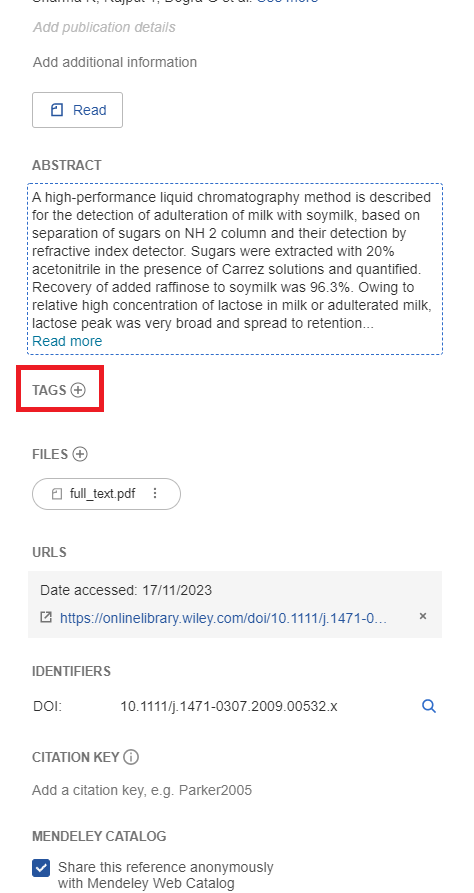
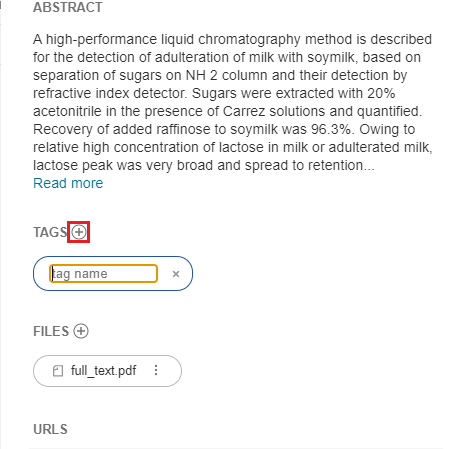
To add a tag, click on the + button next to the tags button, type in the required text and press enter to add the tag.
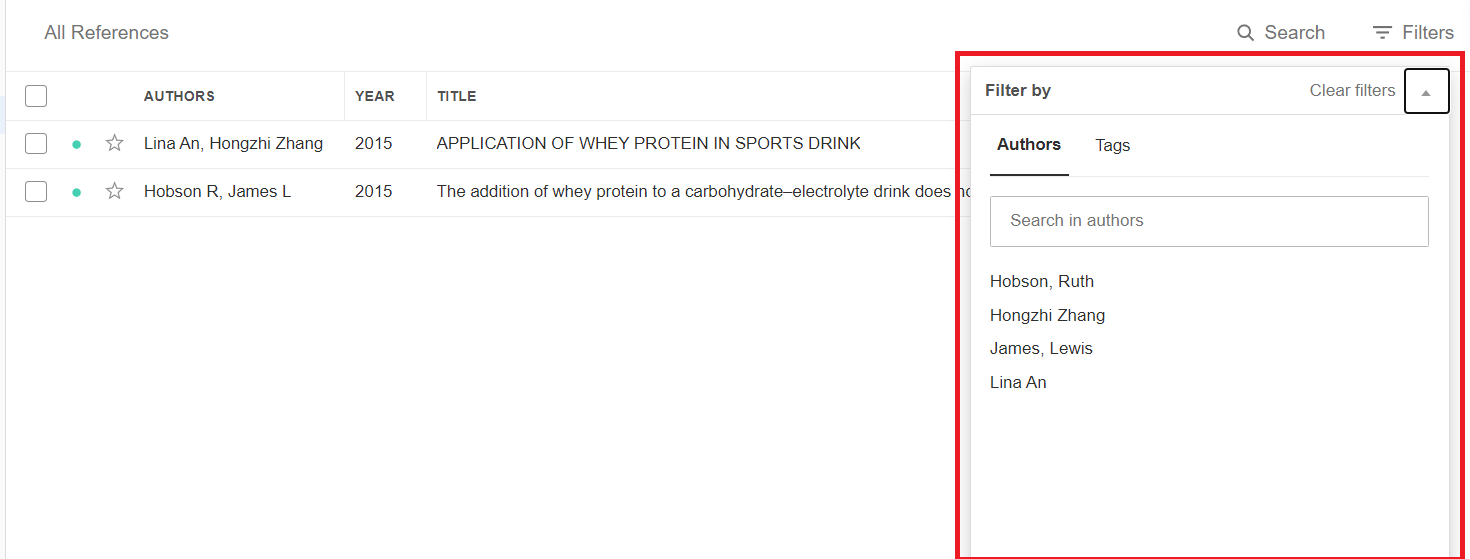
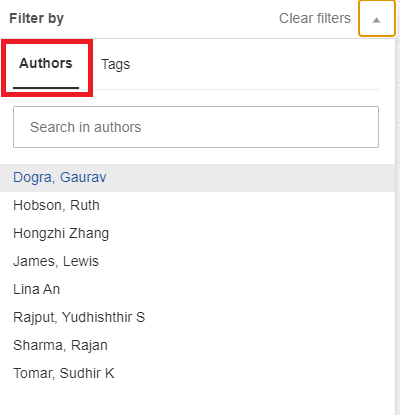
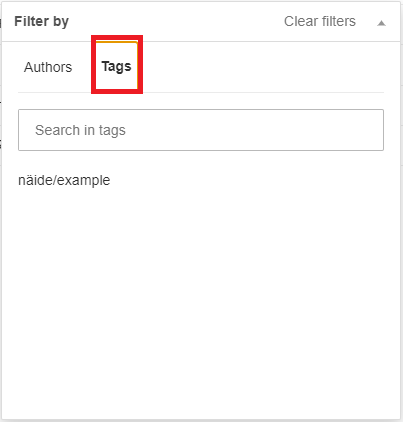
6. Filtering/sorting of references
Reference entries can be sorted by tags and author names. To do this, select filters and then select either authors or tags.

7. Deleting references from the reference collection
Select the reference and then click delete in the panel that opens at the bottom.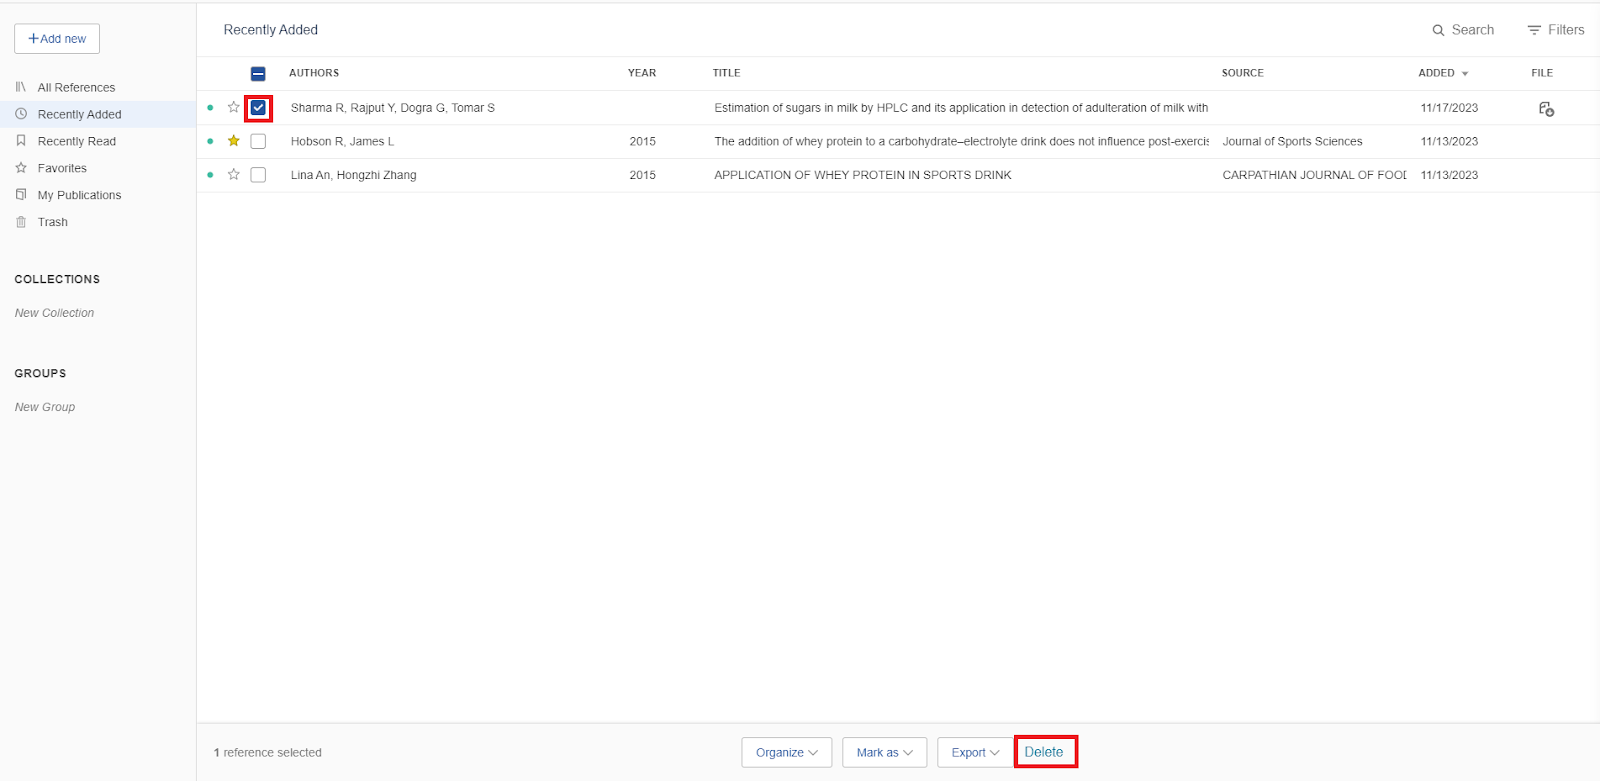
All deleted reference entries can be found in the left sidebar trash.
If you want to add a deleted reference back to your reference collection, click on the selected reference and in the panel that opens at the bottom, click on restore. You can also delete a reference permanently by clicking on delete permanently in the same panel.

8. Creating collections (folders)
To create a new collection or folder, select collections in the left sidebar, type a name for the collection and press enter.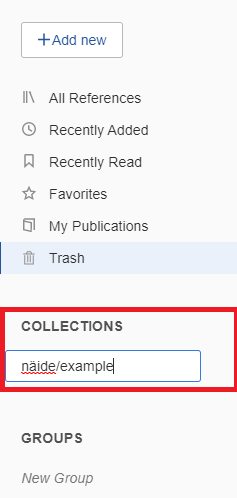

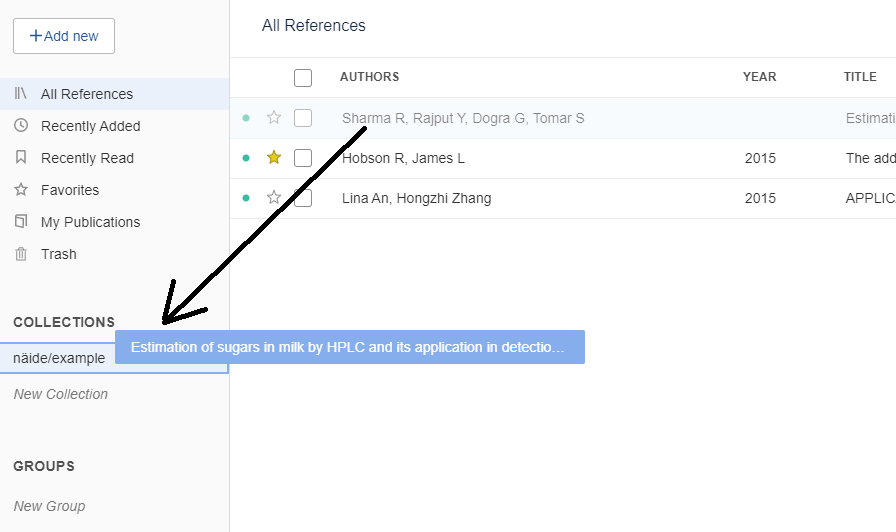
To add a reference to a collection, see all your references and there are two ways to add a reference to a collection.
click on the selected reference and drag it to the collection.
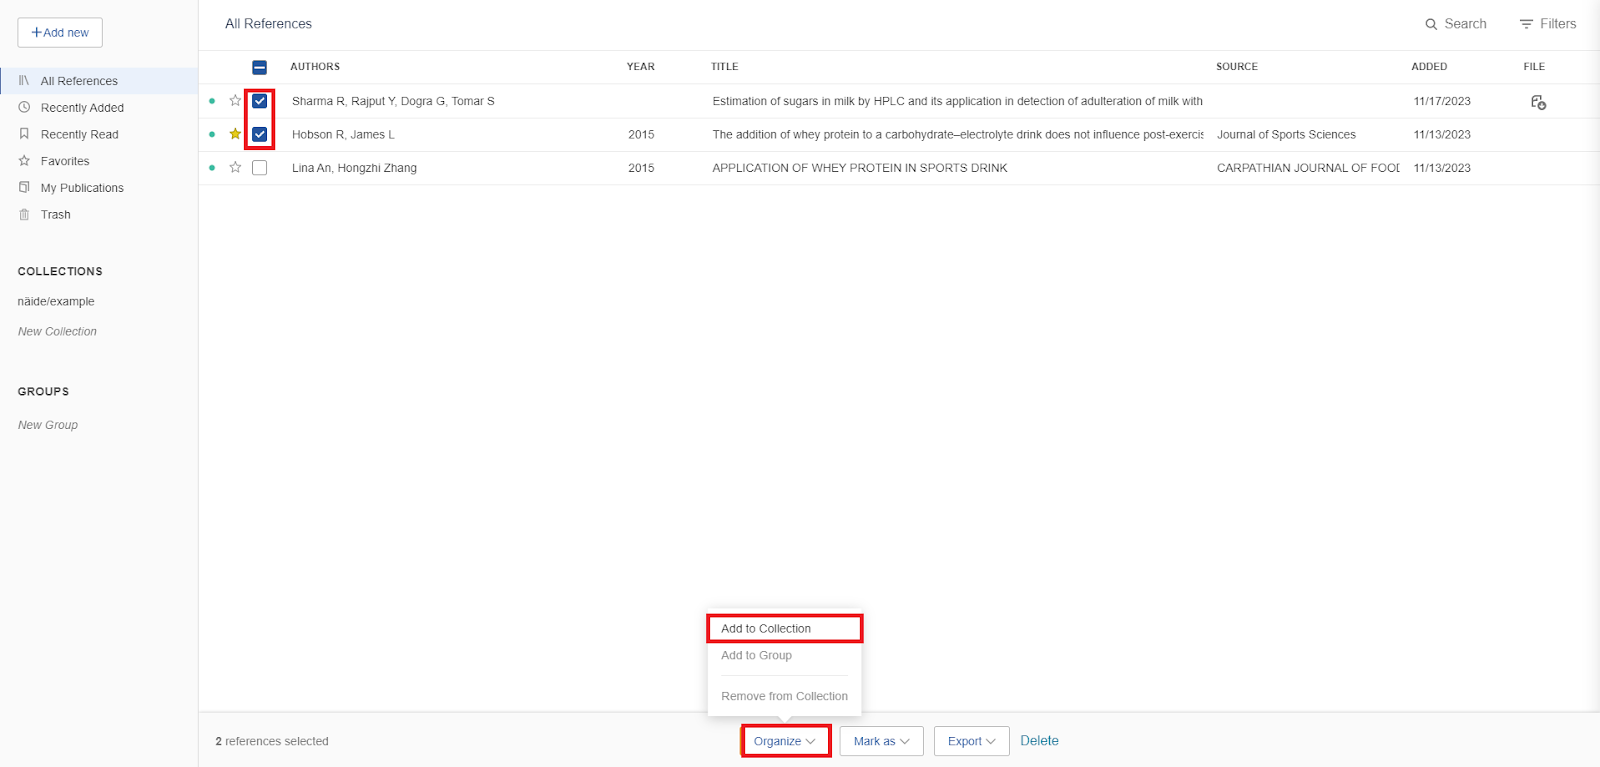
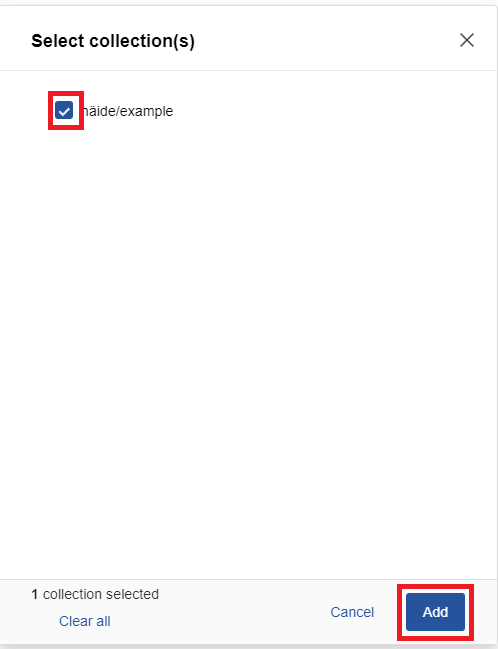
Select the reference items you want and click organize in the panel at the bottom and select Add to Collection. Then tick the checkbox next to the selected collection and click Add.
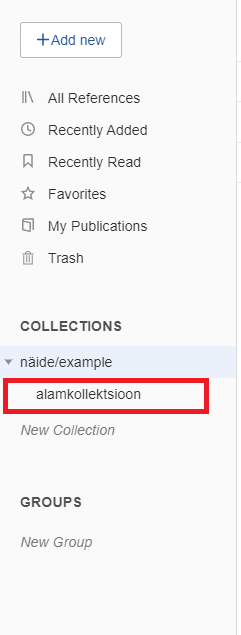
You can also create subcollections of collections. To do this, right-click on a collection in the left sidebar and select New Collection. Type the name of the collection you want and press enter.

9. Creating private groups
Groups allow you to share reference documents and PDFs with other group members.
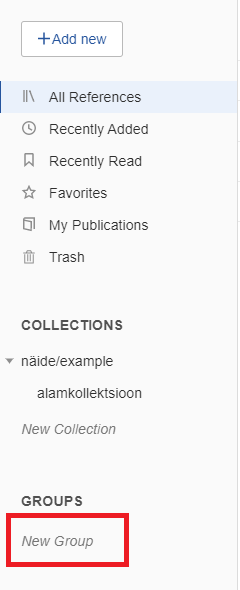
The process for creating private groups is similar to creating collections. To name a group, click on the box under groups in the left sidebar and enter the desired group name.
To add reference items to a group, select the desired reference items by either dragging or ticking the boxes and select Organize -> Add to Group from the bottom panel.
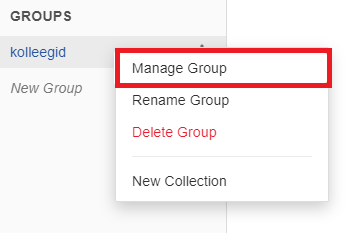
To invite other members to the group, right-click on the group name and select Manage group.
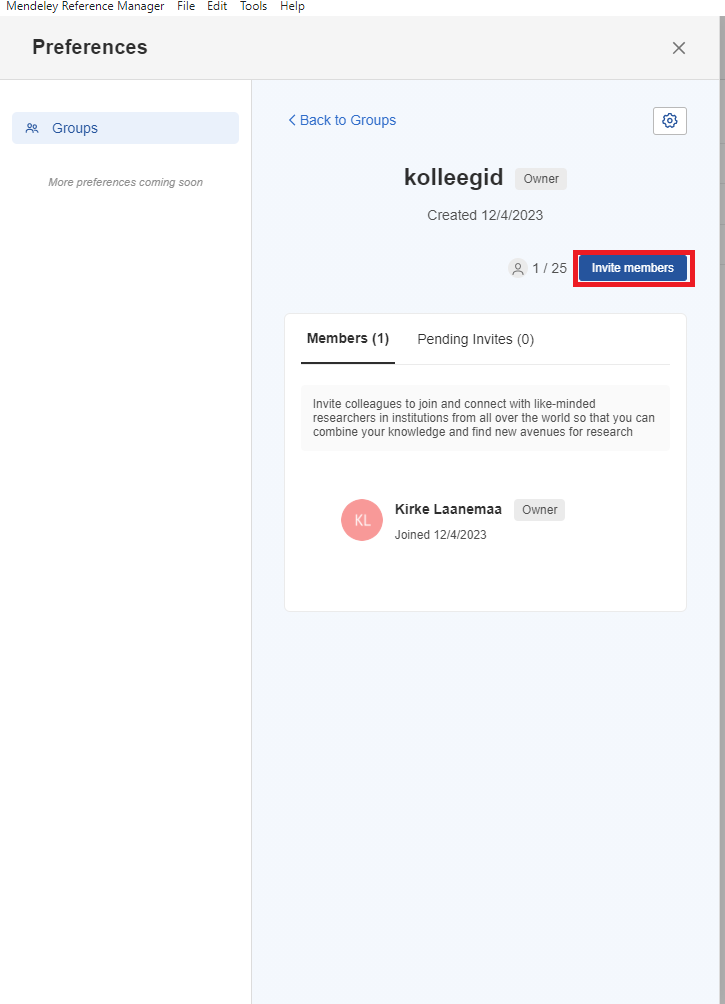
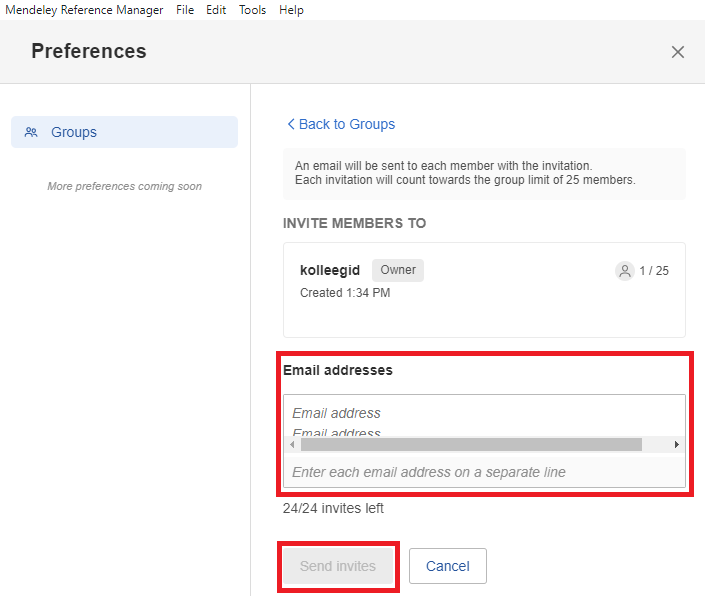
In the left sidebar that opens, select Invite members and add the email address of each person you want to invite to join the group. A private group can have up to 25 members. All added group members will see a shared set of references.
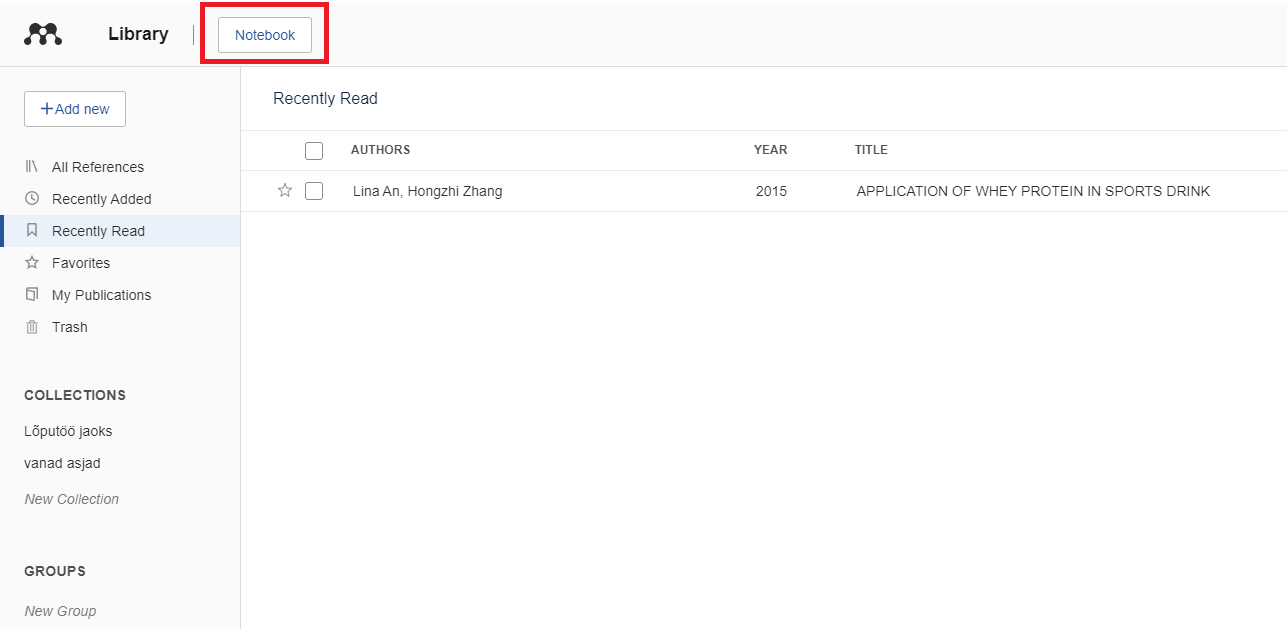
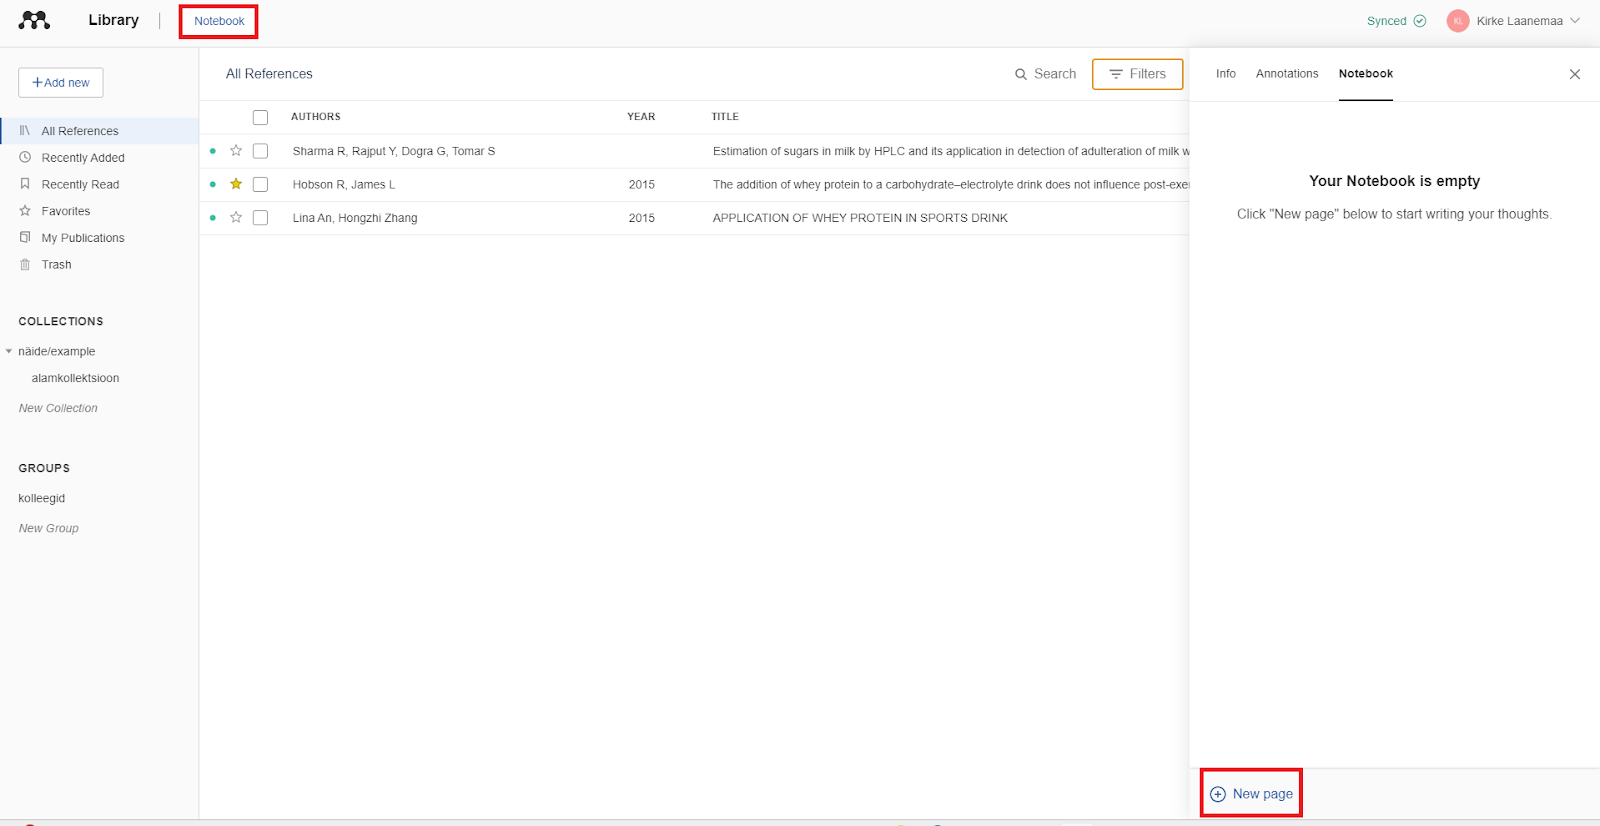
10. Using the Notebook feature
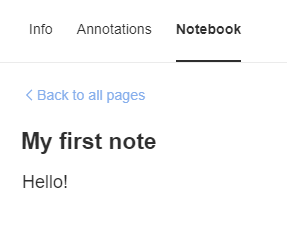
Select Notebook from the top panel, and a new side panel opens on the right. Once open, you can add new pages to your notebook. To do this, select New page from the bottom bar. You can add general comments to the notebook. Add a title and text to the new page in the notebook.

By selecting Annotations you can enter annotations for a specific reference. To do this, open Annotations, click on the selected reference and add annotations. This annotation will be added to the specific reference previously selected.
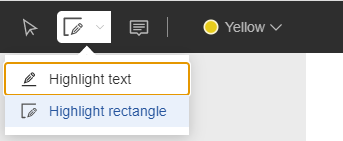
You can also add annotations to a specific PDF that is attached to the reference. To add an annotation, you must have Notebook open and from there the Annotations tab. Once these are open, double-click on the selected reference (with the PDF file attached) and a PDF will open with the tools to add annotations to the PDF in the top left panel. For example, you can choose the colour you want to annotate with, and by activating the highlight tool, you can highlight some text.
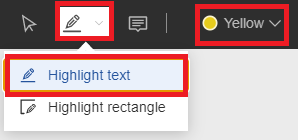
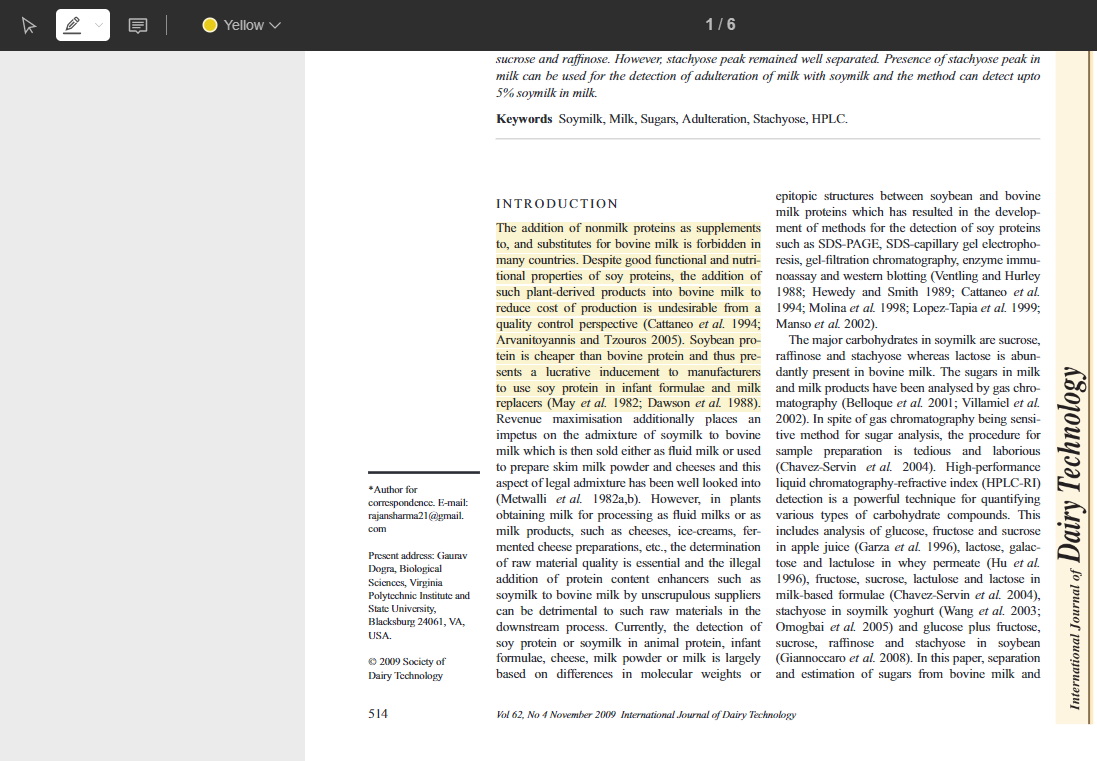
By choosing the Highlight rectangle tool instead, you can highlight a specific area of the file.

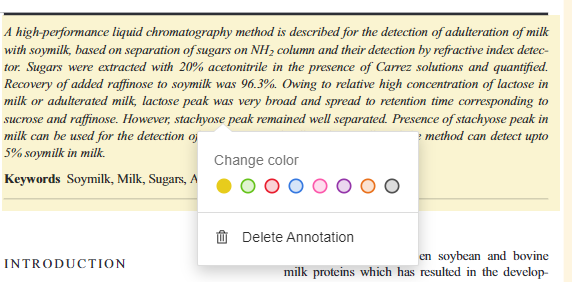
If you want to change the colour of your notes, just click on the note and choose the colour you like. You can also click on a note to delete it.
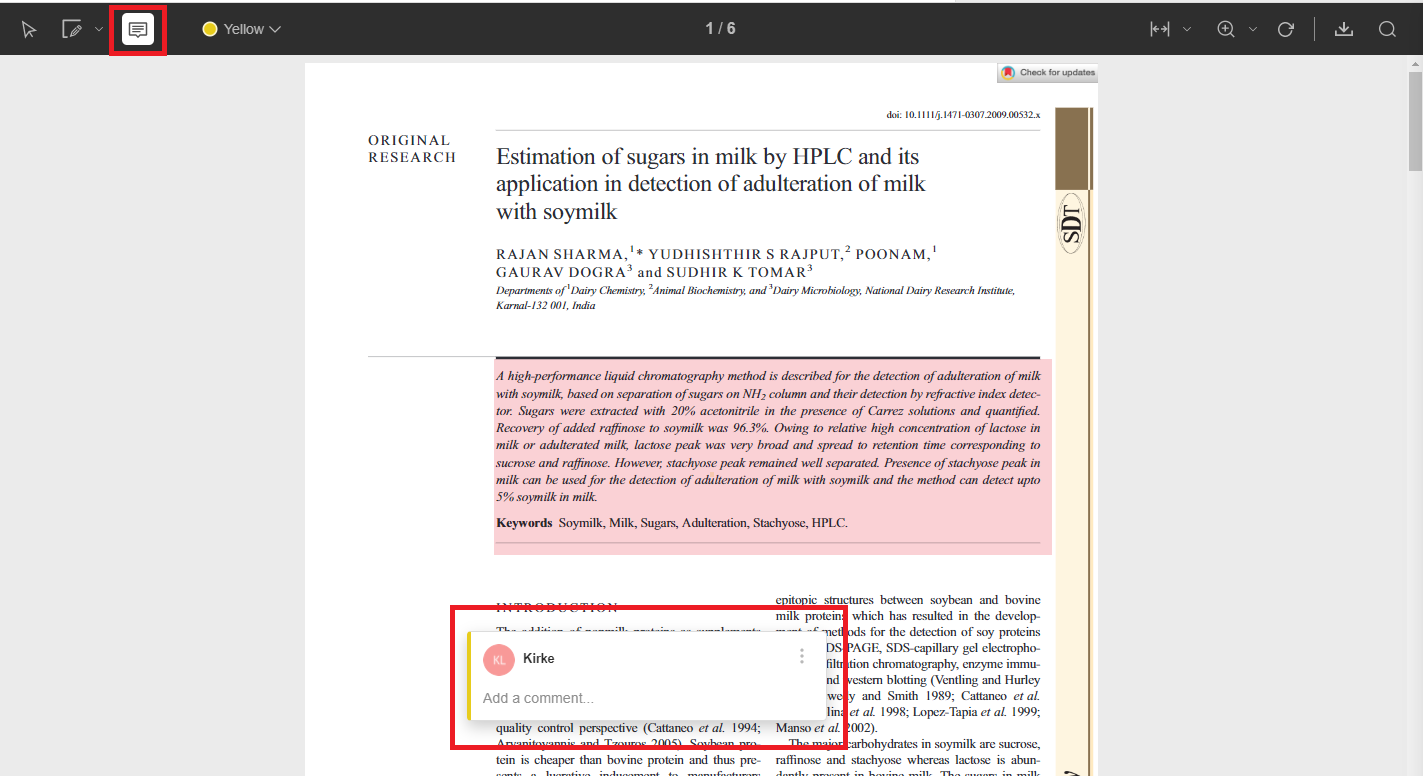
In addition to highlighting the text, you can add comments. To do this, click on the sticky note button and then click on the desired area inside the text.
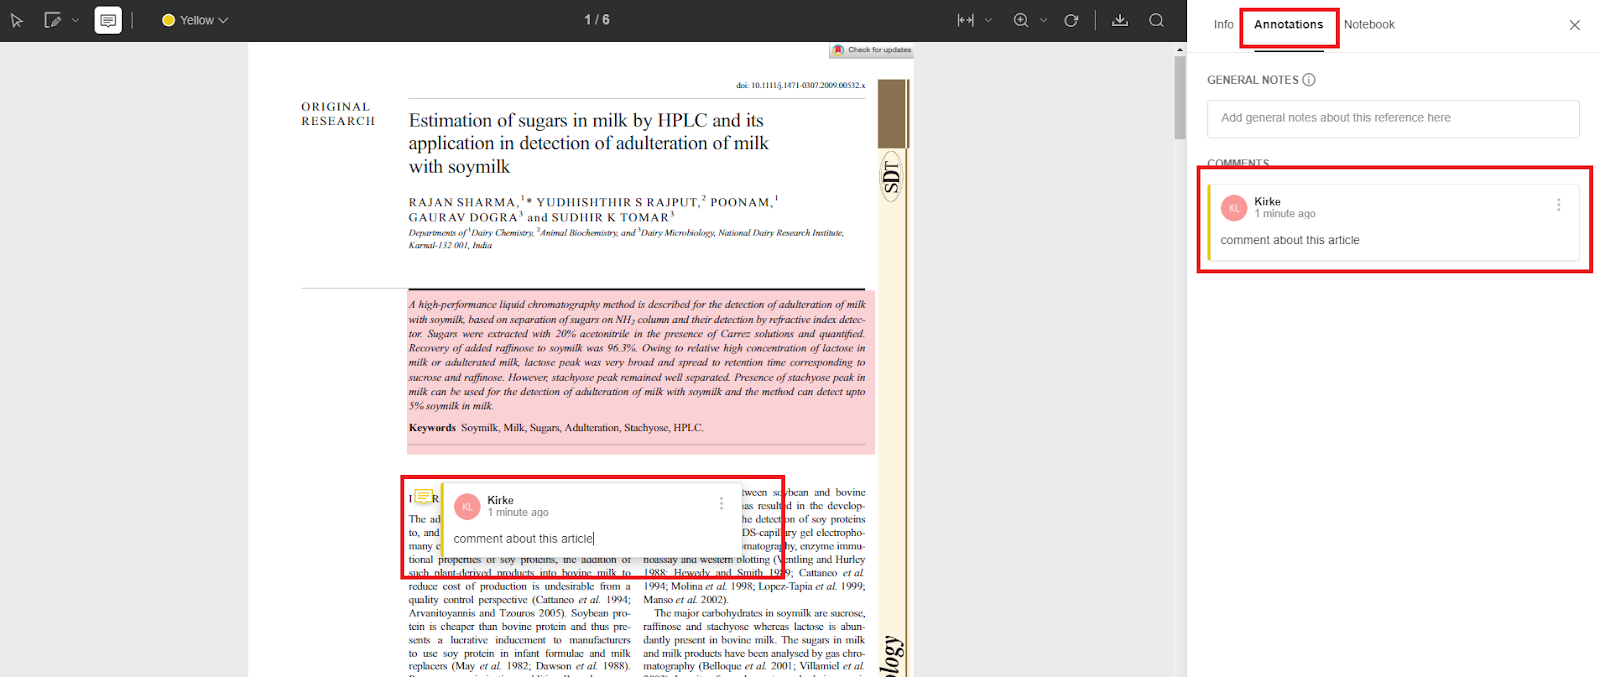
All added annotations are also visible in the Notebook tab under Annotations. Clicking on them will also show the annotation inside the PDF.
11. How to use Mendeley reference management software in Microsoft Word
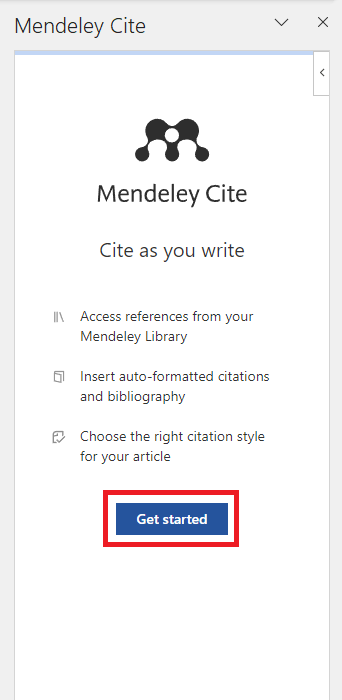
In order to use the reference management software in Microsoft Word, you must first download the Mendeley Cite for Microsoft Word add-on. To do this, go to this website: Mendeley Cite | Mendeley and install the add-on on your computer.
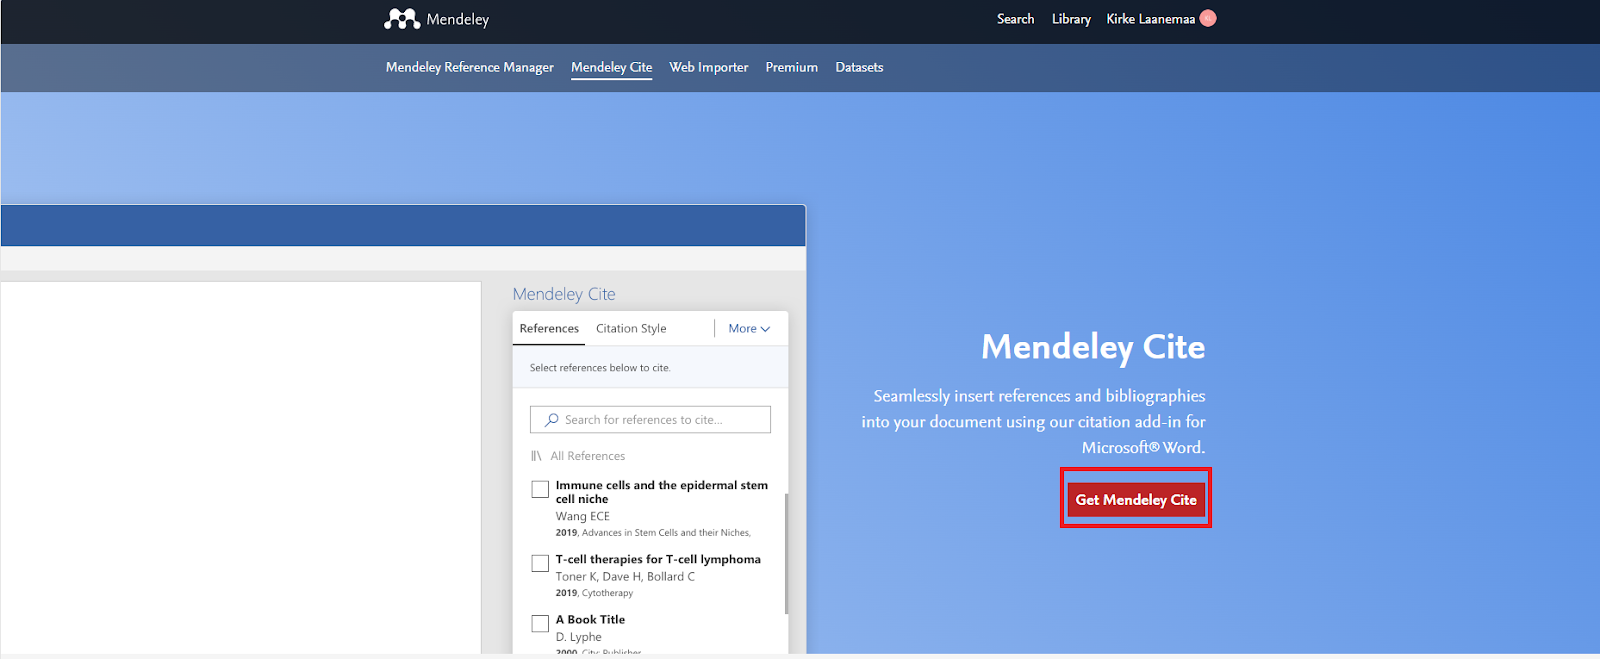
Once Mendeley Cite is downloaded to your computer, the Mendeley logo appears in the Microsoft Word Reference panel.

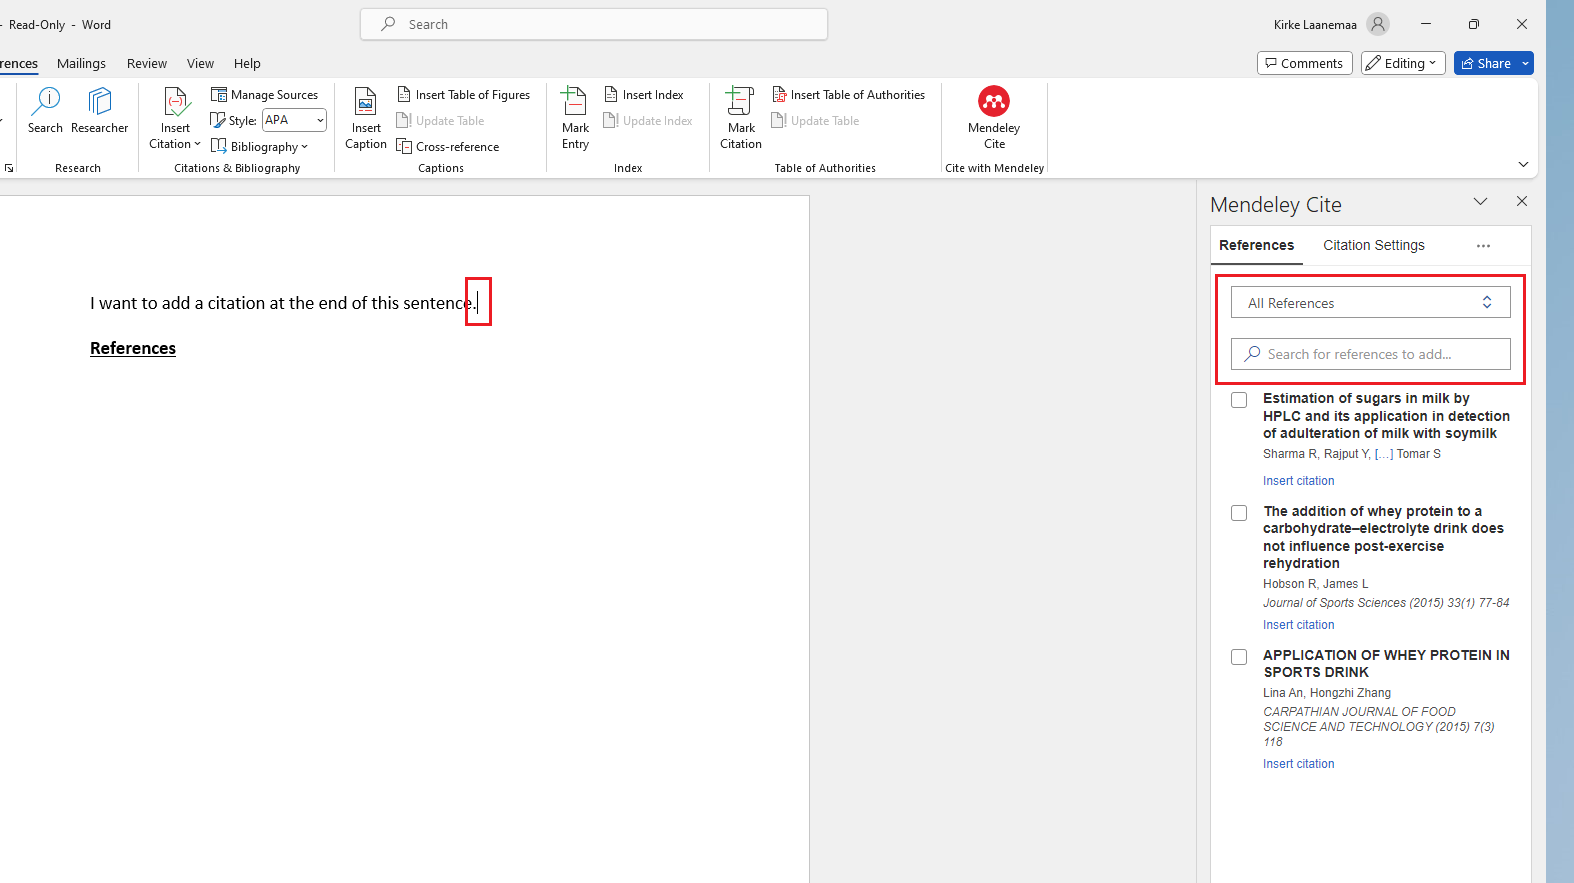
If you click on the Mendeley logo, a new tab opens on the right. For first time use, you will need to log in using the ELSEVIER account you created earlier (at the beginning of this tutorial). Once you are logged in, Word will synchronise with your Mendeley software and you will see all your reference entries in the tab.
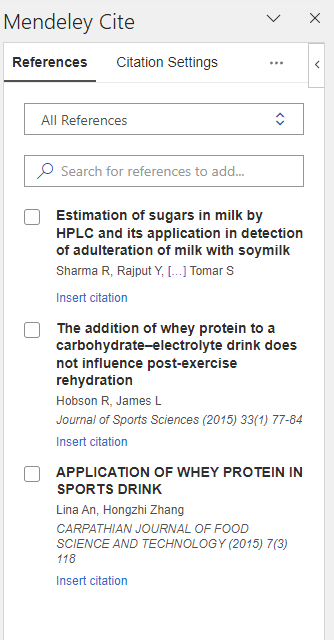
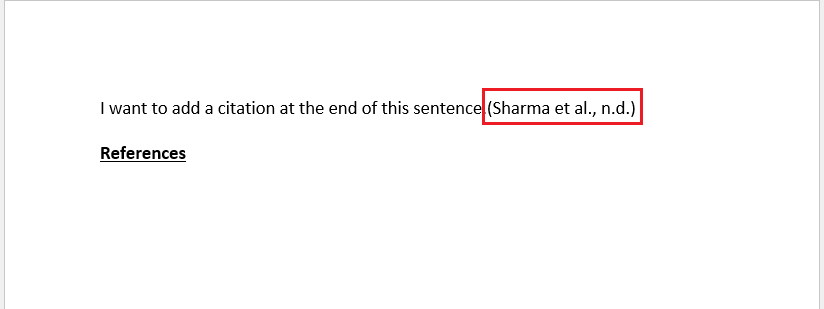
To add a reference using Mendeley Cite, click on the area in the Word document where you want to add the letter. Then use the search function and drop-down menu on the right-hand tab to find the reference you need.

The reference is now in your document, where you previously clicked with the cursor.
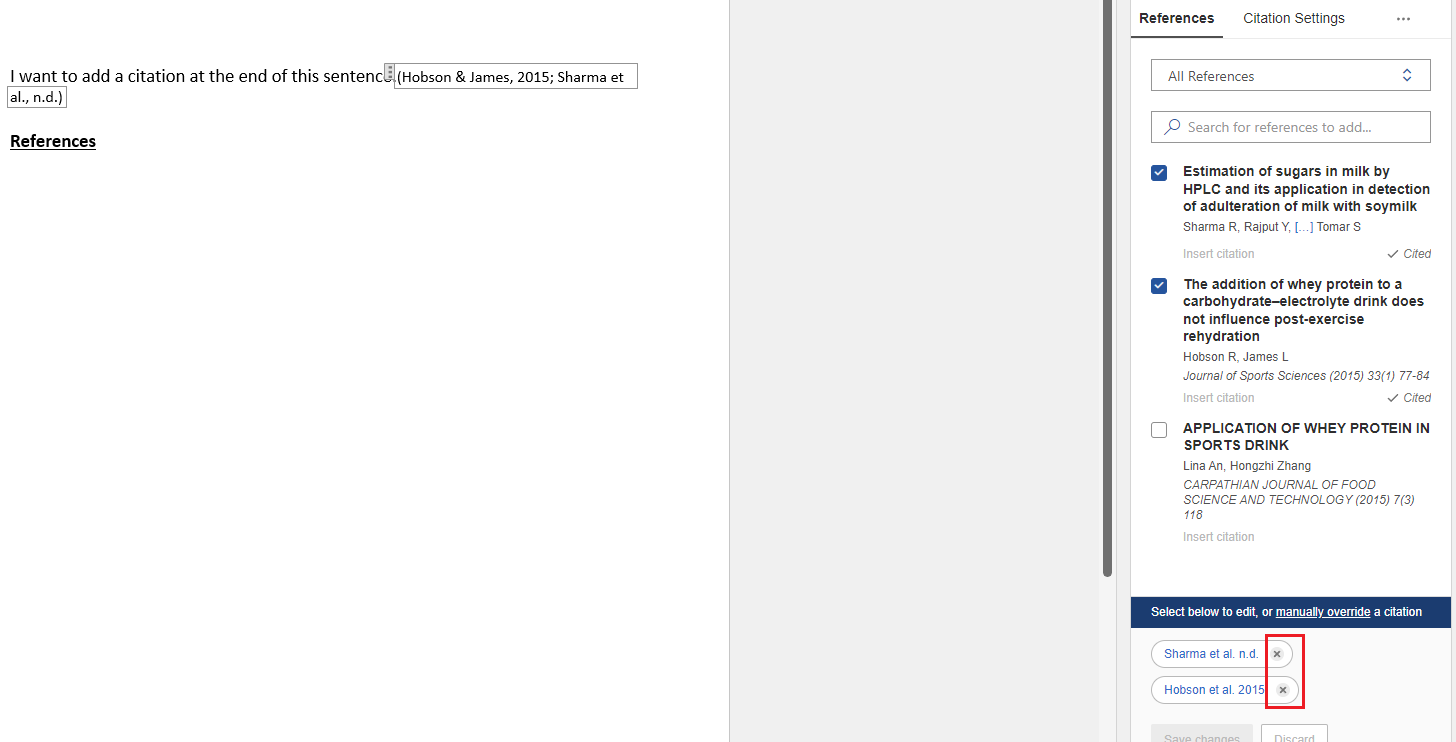
If you want to add more reference entries in the same location, click on the previously added reference and look for the reference you want to add in the tab on the right. It is also possible to delete a reference in the same way. To do this, click on the reference and on the right tab click on the cross next to the reference you want to delete.
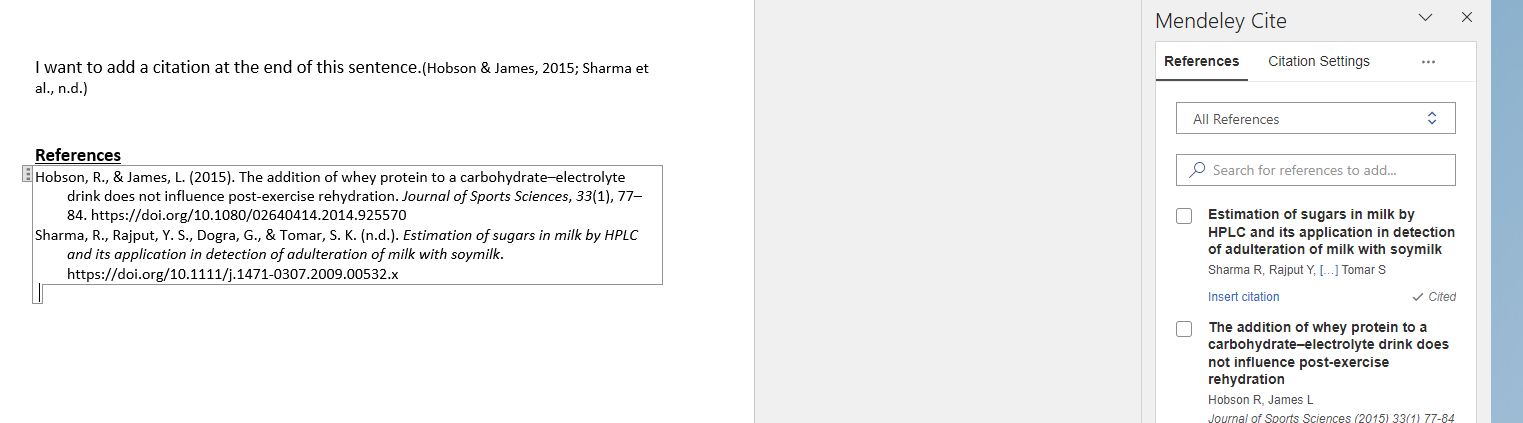
To create a list of sources used, click on the place in your document where you want to add the list. In the right-hand tab, click on the three dots (or more button) and select insert bibliography. You will then see a small notice that the bibliography is being inserted at the cursor location, click continue and a list of sources used will appear at the location you selected.

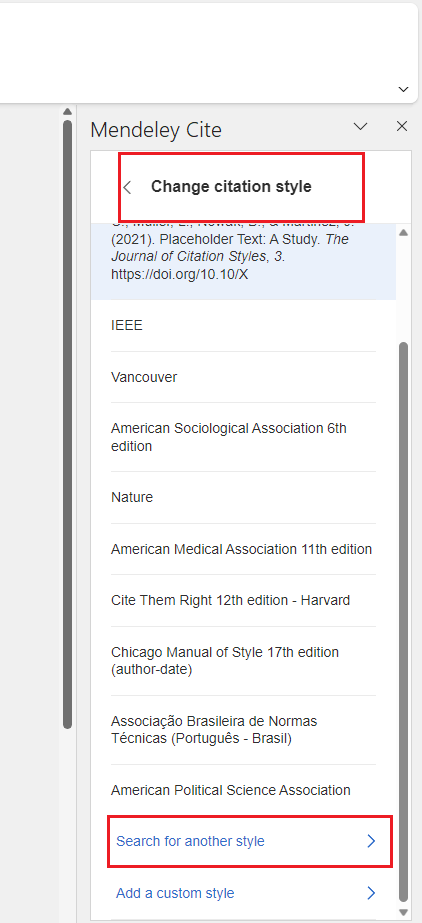
To change the citation style, click the citation style/citation settings button on the right-hand tab, and under the change citation style button, select the style you prefer. If you want to search for another style, scroll down the tab, select search for another style and type in the style you want to search for.

12. How to access your Mendeley reference collection via the web
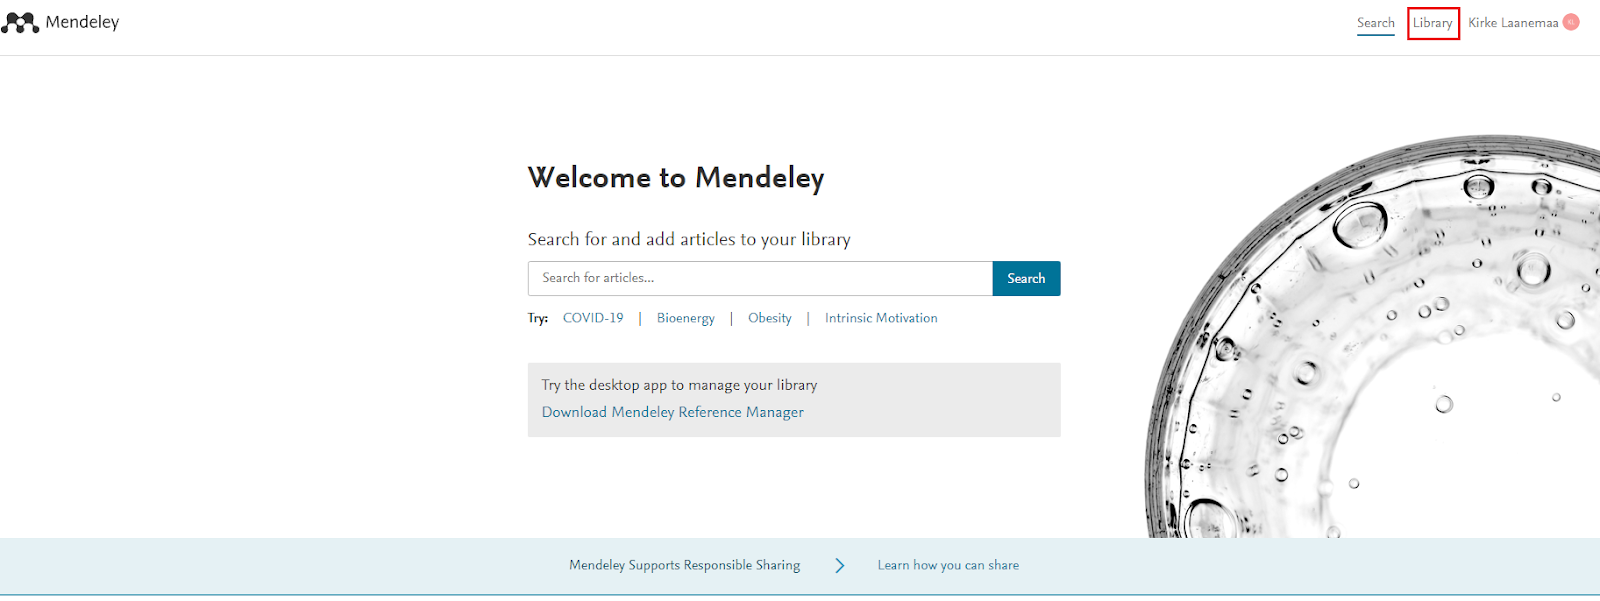
You can access the Mendeley Reference Library through the Mendeley web application. This is because your reference collection is synchronised with your Elsevier account. To access the reference collection via the web, log in to the Mendeley website using your Elsevier account.
13. YouTube tutorial video
You can also watch Steven Bradburn's YouTube tutorial video (16:53) on using Mendeley: